When you start with QMENTA, you will already have access to several public data sets that we have shared with you. But you can also start your own project.
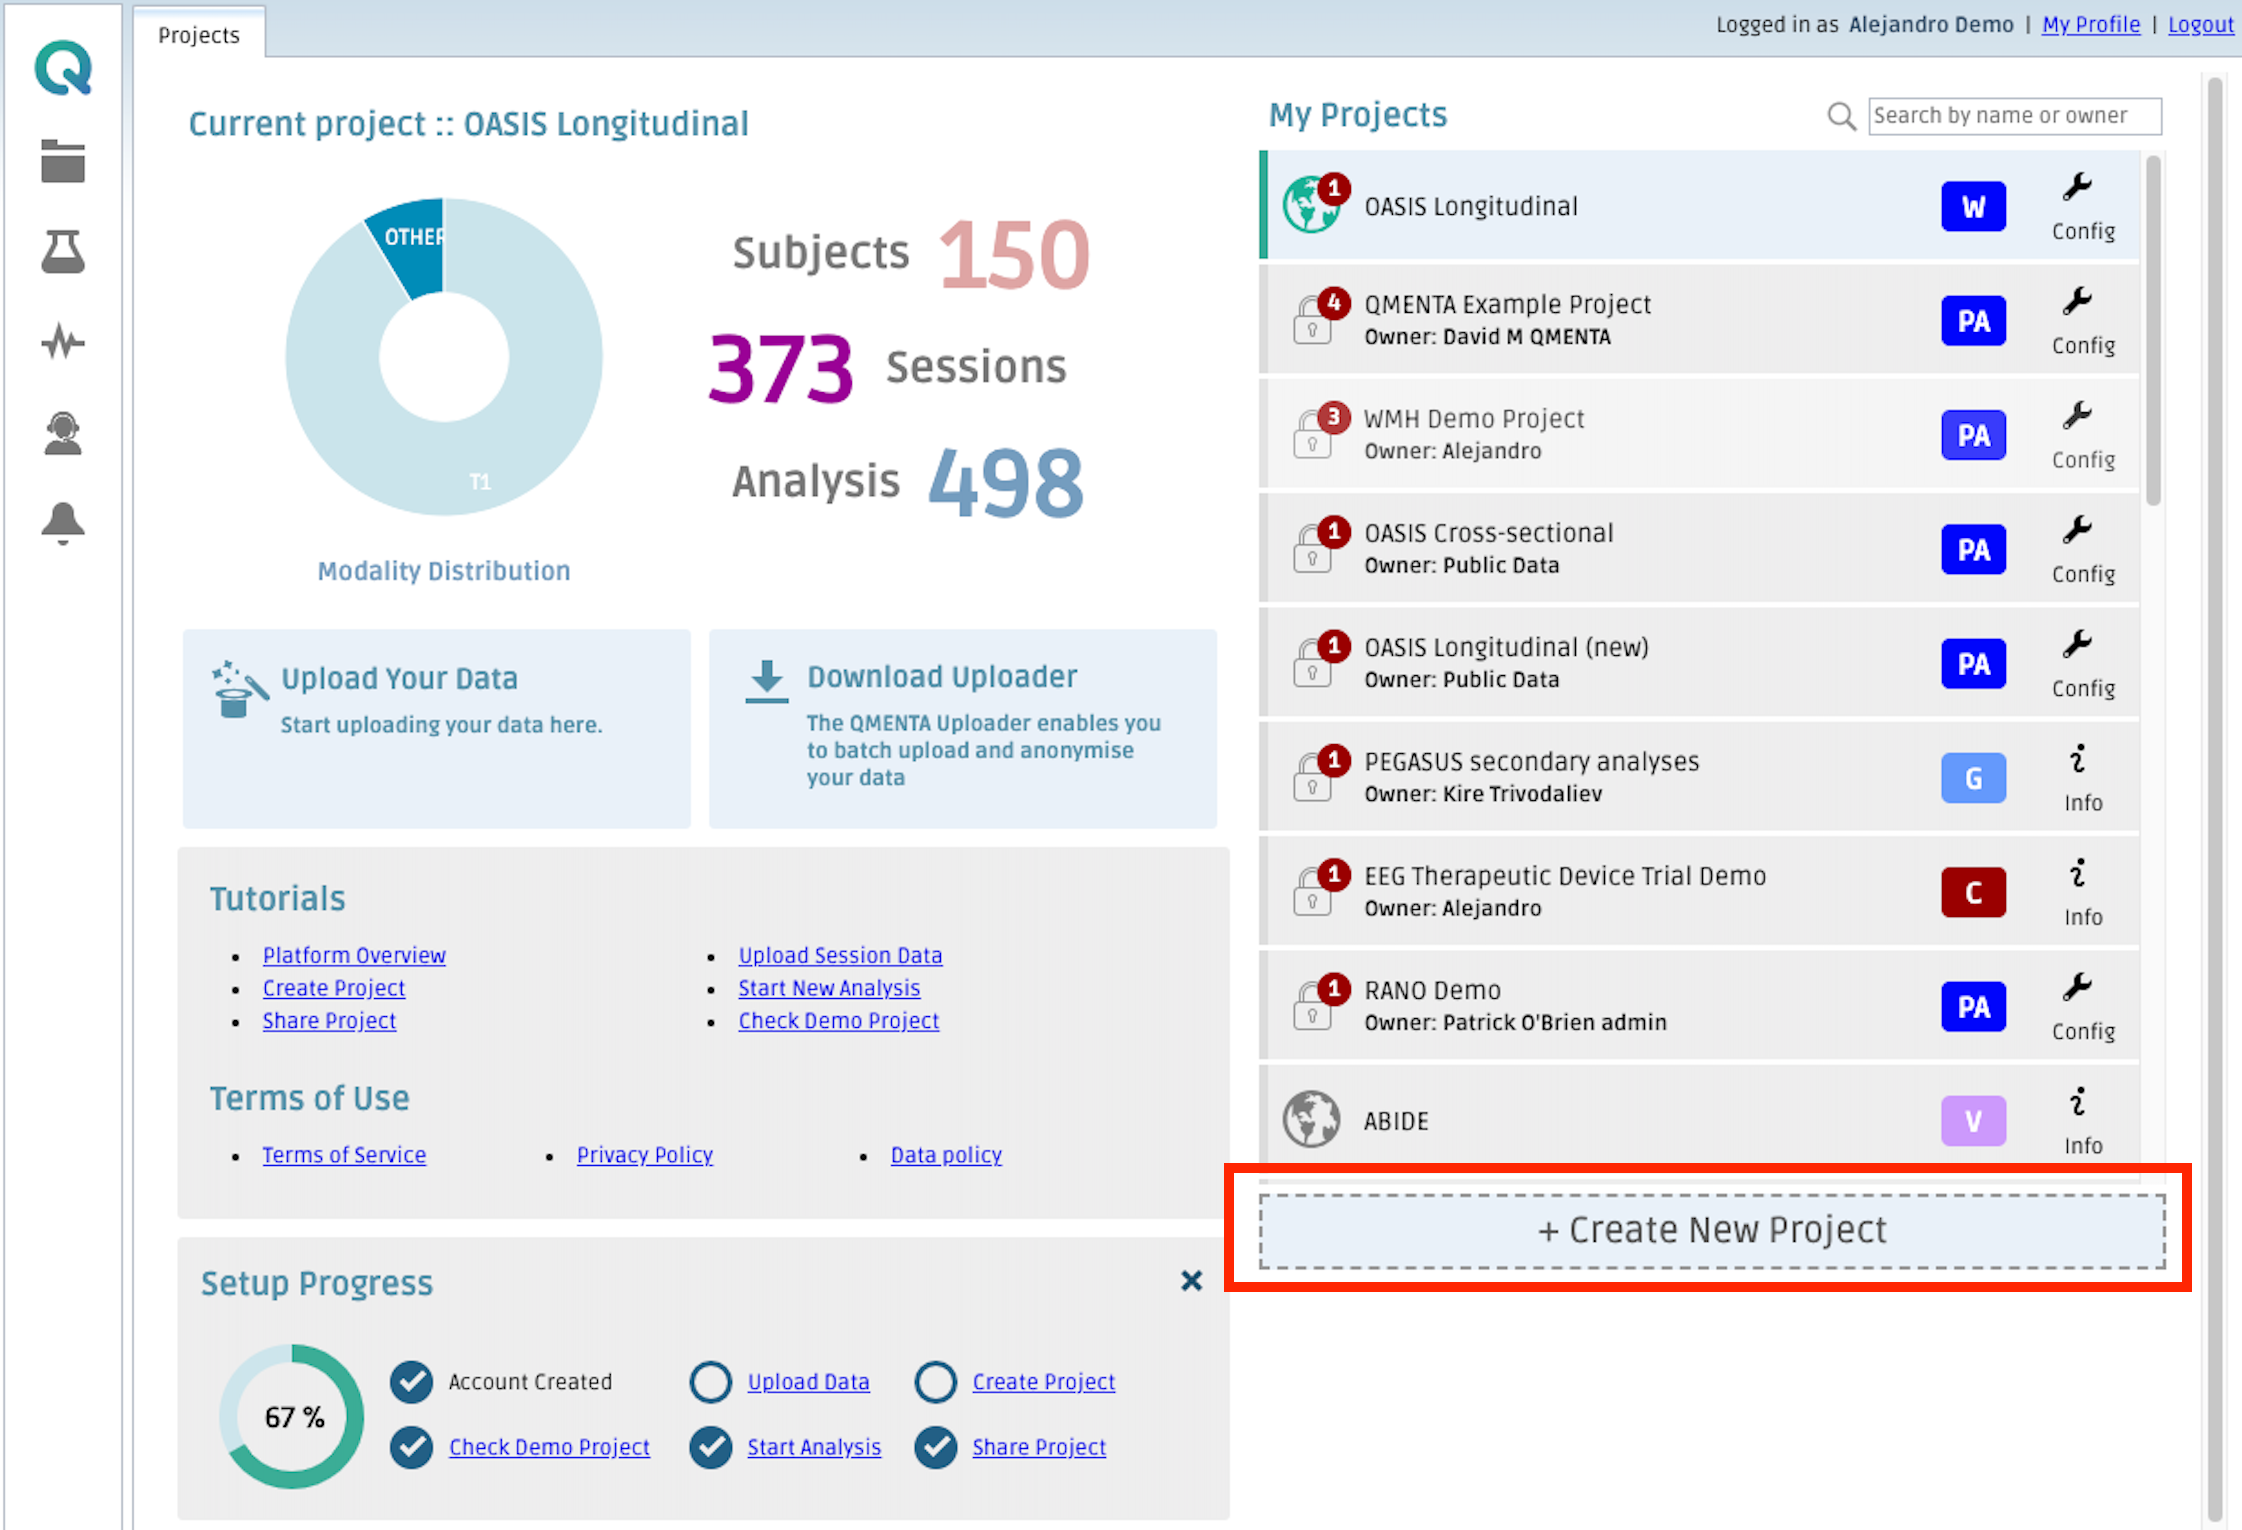
To create a new project in the QMENTA Platform, in the Dashboard go to the bottom of the “My Projects” list and click on the “+ Create New Project” label under the list.
The “Create New Project” pop-up window will appear (see figure below). In this window, you will need to fill in the required fields of the new project. These are:
- “Name”: Name of the project.
- “Abbreviation”: Abbreviation of the project.
- “Project Type”: Only the “Standard” option will be available. In case other types of projects are needed please contact QMENTA support via support@qmenta.com.
- “Data location”: Location of the dedicated server to store the data that is uploaded to the project.
- “DICOM anonymization”: Only the “Strong” option will be available. For further details refer to this article. In case you need to define another type of anonymization please contact QMENTA support via support@qmenta.com.
- “Measure of age”: The age of subjects will be displayed in the project in either months or years. Note the age of the subject will be extracted automatically if available in the uploaded DICOM data. The age is not extracted for other uploaded data types.

QMENTA personnel can create new projects in which the DICOM anonymization is disabled upon request.
In the “Share Data” area, you can invite collaborators to the newly created project. Write the e-mail of the collaborators, select a role (refer to Roles and Permissions) from the drop down and a data location. The default data location will be the same as the one defined at project level, but it can be modified for specific collaborators. Finally check the “QA” checkbox if you want to grant the collaborator permission to perform Quality Assurance tasks such as modifying the QC Status of data sessions and analyses or execute the Protocol Adherence Automation analysis.
If the invited collaborator is already registered in the QMENTA Platform, they will immediately have access to the project. However, if the collaborator is not yet registered in the QMENTA Platform, the pop-up window shown in the figure below will appear. By clicking “OK”, the collaborator will receive an e-mail with the subject “You are invited to QMENTA!” which will instruct them on how to register to the QMENTA Platform as explained in the article Create an account. Upon the collaborator’s successful registration, you can proceed to add them to the desired project.

In the second tab of the “Create New Project” pop-up window you can add a description of the project.
Then, click on “Create Project”. The new project will automatically be activated after creation and loaded into your Dashboard. Now, you can start working on the project: uploading data, QCing, running analyses etc…
By default your role in the new created project is “Owner”.
In the new project you create some of the analyses available in other projects might not be present. If you encounter any limitation, please contact QMENTA at support@qmenta.com to guarantee the project is correctly set up.
Once you have entered all the information, click on Save Changes. This will create the project.
Congratulations! You can now start uploading data or sharing the project with other collaborators.
Create free account now!