Here you can see how to upload data. If you prefer a complete guide in a PDF format, please contact us.
In a Star project, you are invited to a Project by your coordinator. Only the owner and the contributors can upload data.
- Find your project and click on it to activate.
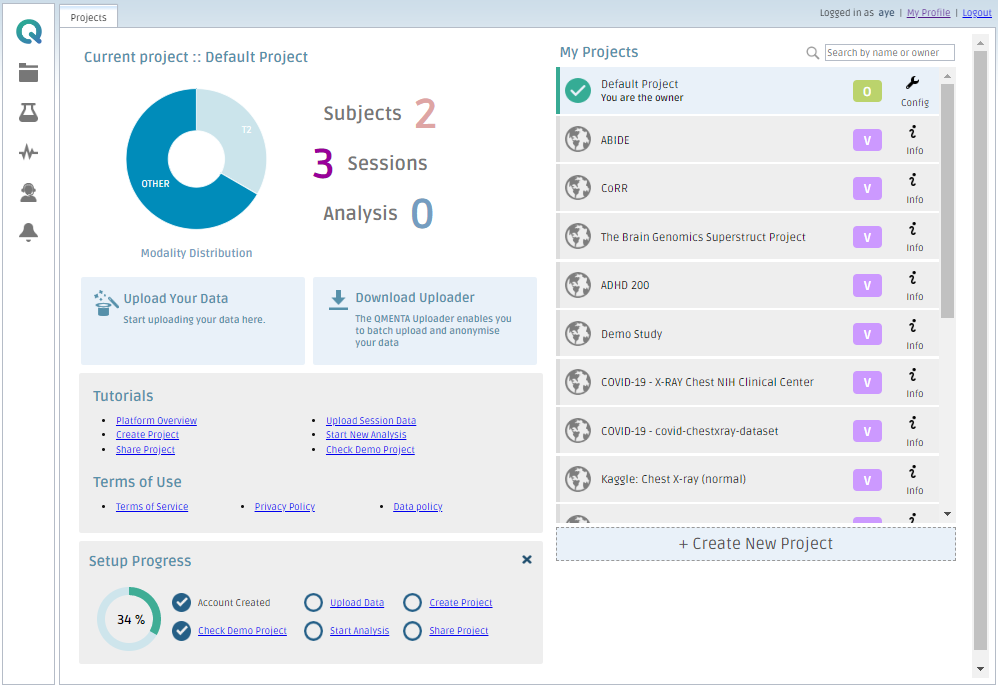
Open the "Data" tab to upload data. The coordinator of the project does not have access to the raw data, they cannot visualize it, nor download it. They can only see the final analysis results.
Note: You can start the upload process just by clicking "Upload Your Data" from the main dashboard.
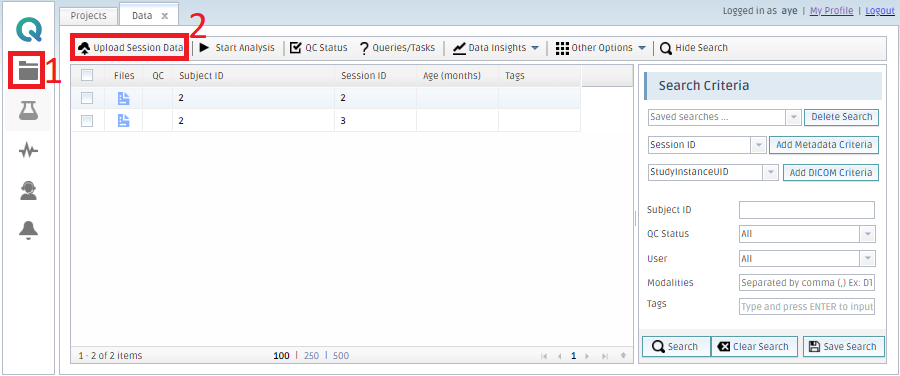
- Click on the "Data"
- Click on the "Upload Session Data"
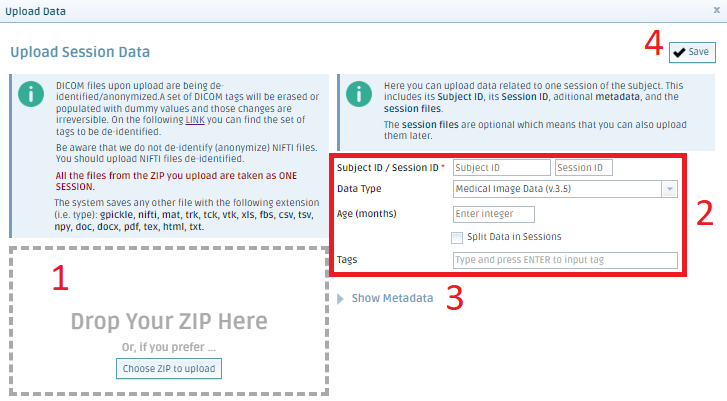
- Drag-and-drop your zip file or click “Choose ZIP to upload” to select a zip file from your computer. Each zip file should contain only 1 session.
- Enter subject ID and session ID. (For the subject ID you cannot use the space character.)
- Click “Show metadata” and enter as necessary (e.g. clinical scores).
- Save
Then, confirm the results of the automatic file recognition and wait for a few minutes. Your uploaded data will appear in the list of the "Data" page.
Create free account now!