The QMENTA viewer provides tools for editing label masks created for medical image volumes. Label masks are 3D volumes embedded with one or more integer values normally representing some structure of interest. The best way to edit label volumes is to use a "brush" type tool, that adds or removes values to the label masks with immediate visual feedback. The QMENTA viewer provides functionality to achieve this.
The following describes the features and functionality of the QMENTA label editor.
Feature Overview
The label editor may be configured with multiple views and different numbers of labels. The following figure demonstrates a configuration of the viewer for annotating a multi-label overlay on two synchronized medical image volumes.
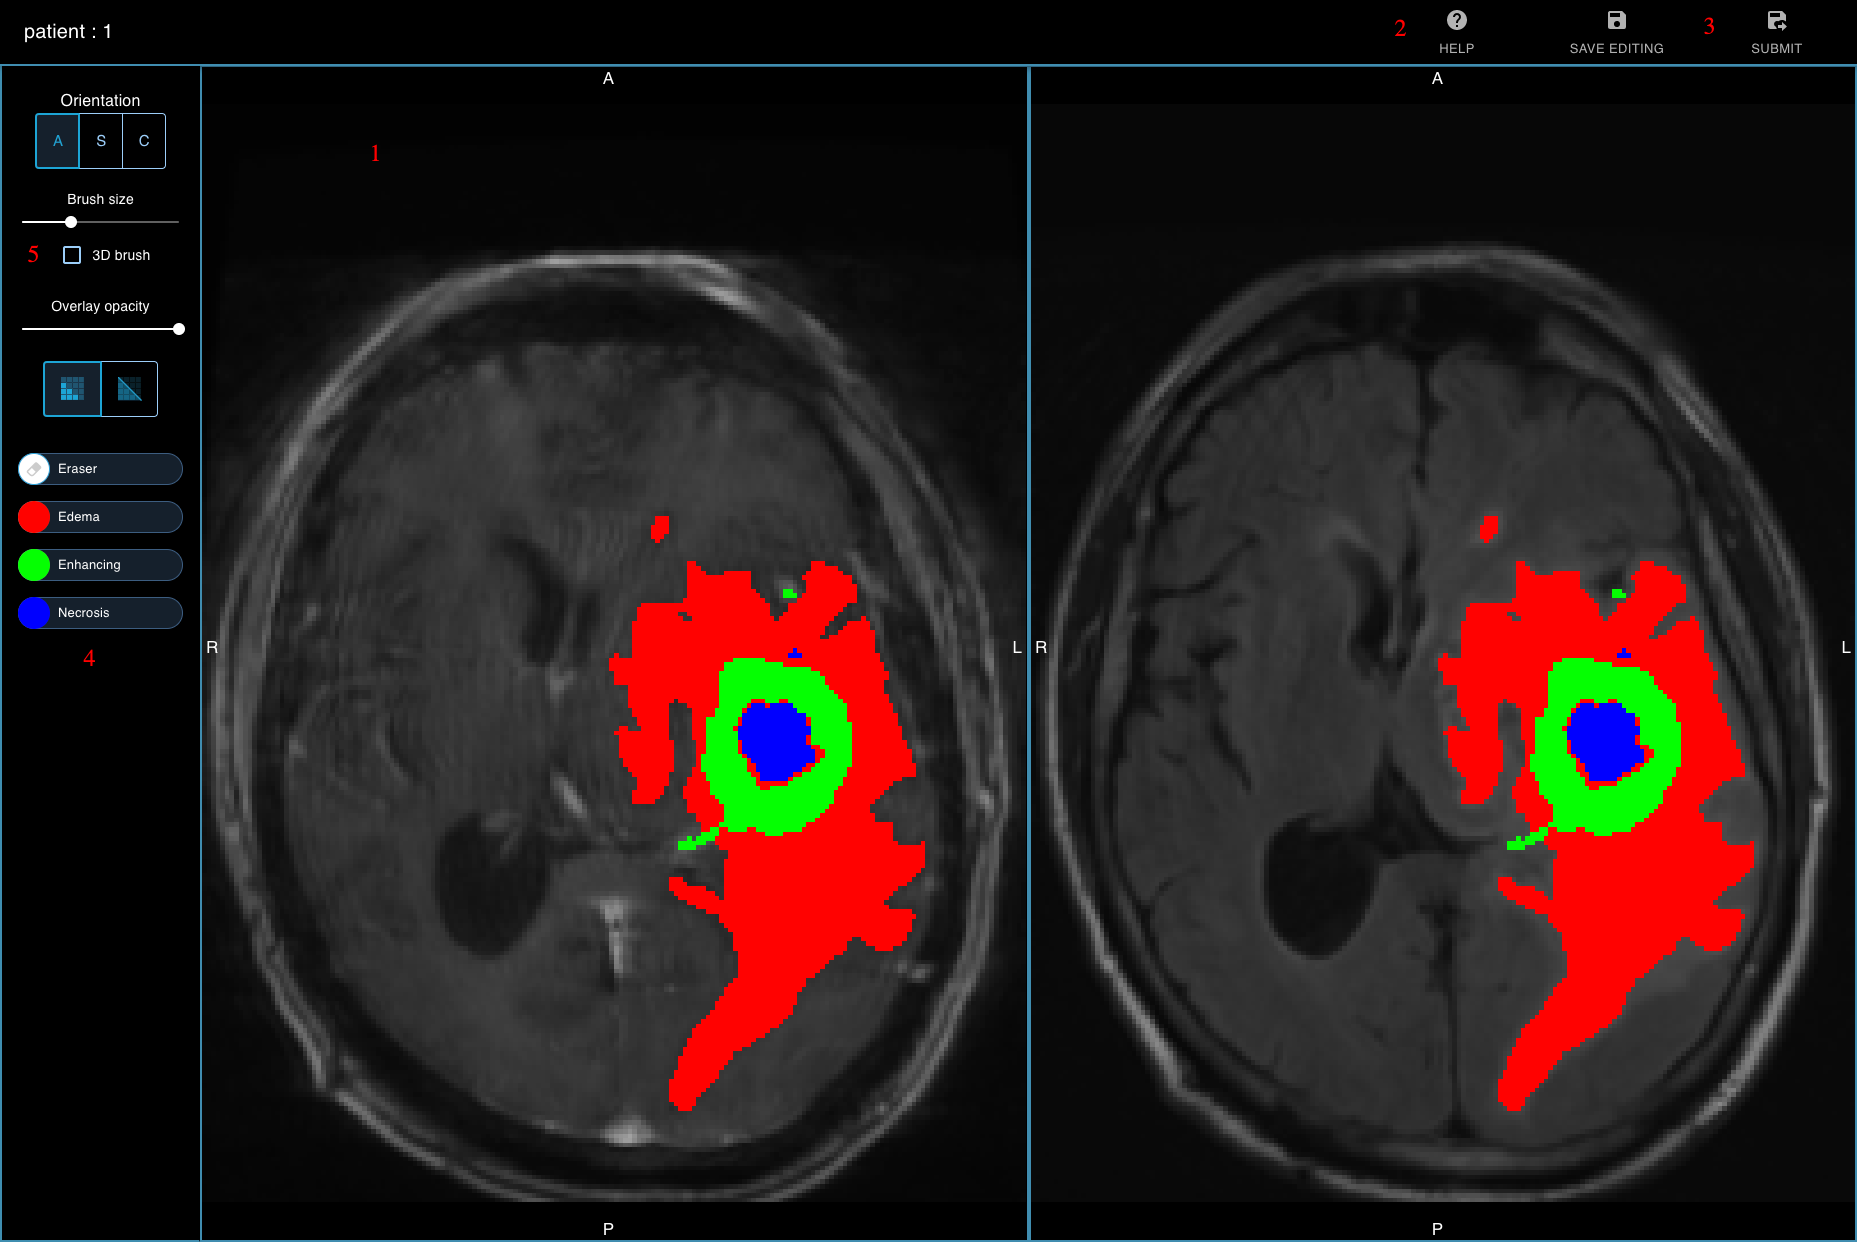
- Main image view: This section shows a grayscale view of a single slice of the image, in the selected orientation
- Help menu: Help menu. Here you can find some instructions and pointers for how to use the viewer
- Saving and submitting: These buttons enable you to save your progress or submit the result of your editing
- Label controls: These buttons enable you to control the label editing, you can select which label you want to edit, or an eraser
- Image and brush controls: Here you can manipulate the image, the label overlay and also the brush size and shape
General controls
The viewer has several functionalities controlled by mouse buttons to help navigate the image:
- Left mouse button - windowing: If a label is not engaged, clicking the left mouse button within the boundaries of the image allows windowing (adjust image contrast). Left-click and drag vertically to adjust the window level, left click and drag horizontally adjusts the window width.
- Middle mouse button (press wheel) - panning: The middle mouse button or wheel allows panning
- Right mouse button - zoom: Right-click and drag vertically downwards to zoom in, drag upwards to zoom out
- Left double click - reset view: Double-clicking with the left mouse button will reset the view (center the image) and reset the windowing
Editing labels
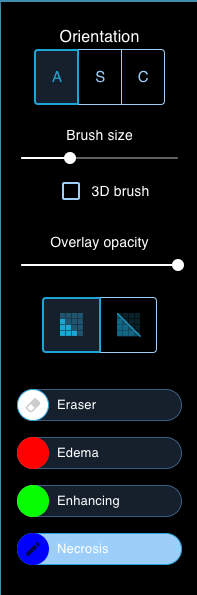
To select a label to start painting, click on the main body of one of the label buttons on the left-hand side of the screen, when it is activated, it will be highlighted like in the following figure:
The orientation of the image can also be adjusted using the orientation controls:
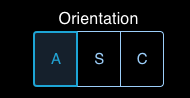
- A: Axial
- S: Sagittal
- C: Coronal
Note: The spacebar can also be used to cycle through the axial, sagittal, and coronal orientations. When switching orientation, the viewer will pivot around the point last clicked in the image, such that a point of interest (such as a lesion or label cluster) remains in the same place. This makes it easier to edit 3-dimensional shapes.
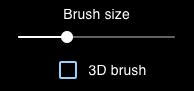
The brush size can be edited using the slider, and the 3D brush option enables drawing on multiple slices (the brush acts as a 3-dimensional sphere and will draw on slices behind and in front of the slice currently viewed):
The way that the labels are visualised can be modified using the label view type toggle:
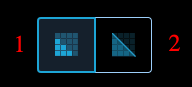
- Voxel: The labels will be viewed in voxel mode
- Contour: The labels will be viewed in contour mode
Below are examples of the difference between voxel and contour views.
Voxel view: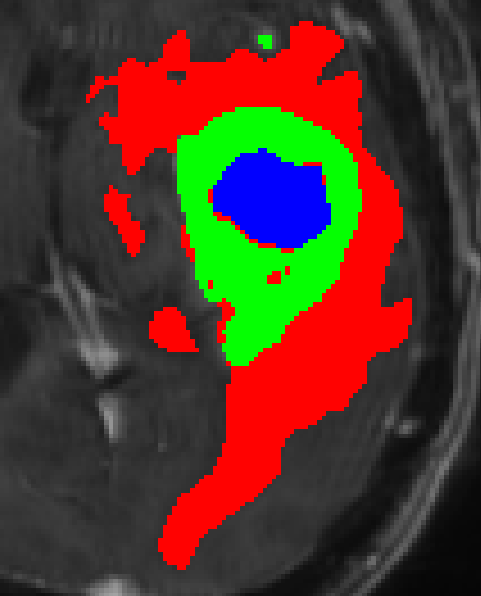 |
Contour view: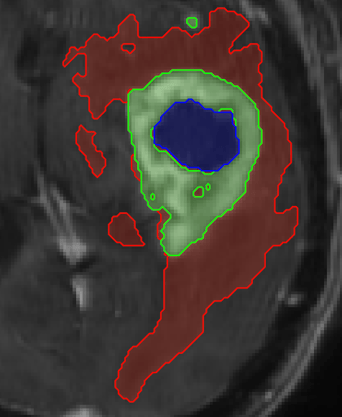 |
Brush modes
There are several brush modes that can be cycled by clicking on the coloured circle at the leftmost part of each label button:
- Standard: The first mode is normal editing, the brush will draw the selected label and will overwrite any other label it touches.

- Draw exclusive: In this mode, the brush will draw the selected label in any voxels absent of a label, however, it will not overwrite other labels where it touches them.
- Erase exclusive: In this mode, the brush will erase the selected label in any voxels where the selected label is present, however, it will not erase other labels where it touches them.

- Global eraser: this additional tool will erase any label.

Note: When you have a label selected, press and hold shift to toggle the global eraser, for quick switching between label drawing and erasing for convenience.
Saving and submitting
The save and submit buttons allow unfinished work to be saved and once editing is completed, to be submitted to finish the editing task and initiate any post-processing that might be scheduled.

Use the save button regularly to ensure your most recent edits are saved and avoid losing work, in the event of a browser crash or network problems. When you open the editor up again, the labels will be the way they were when you last pressed the save button.
Create free account now!